Simple Nail Art design by CND SHELLAC Soak-off Gel system
- on 08.11.14
- Highlight, Tutorial
- No Comments
- Digg
- Del.icio.us
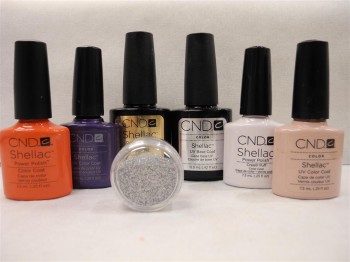 |
There are uncountable choices of Gel nails DIY products in the market, have you ever thought of brining one home and do it yourself? Some of us do because it is hard to make a booking; want to change colors more frequently; to save cost etc… If you have bought it, you will probably know it is not as easy as you see. In this article, let’s have a revision on each basic step for applying a stable and durable CND Shellac Soak-Off Gel Nails; also introducing an easy nail art for experienced DIY users. Each brand has their own unique formula, so we need to pay attention to subtle and minor variations on the process. If you are interested at different gel products please visit our related links.
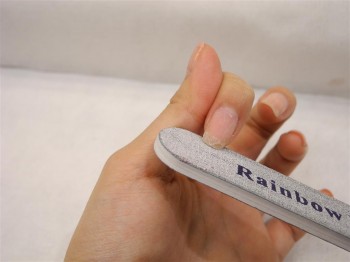 |
Step 1 : Preparation (Including nails sanitizing)
- Standard manicure (esp. cuticle clearing)
- Use a 180ºFile shaping the nails
- Remove oil & sanitize the nails by cotton wipes with disinfectant
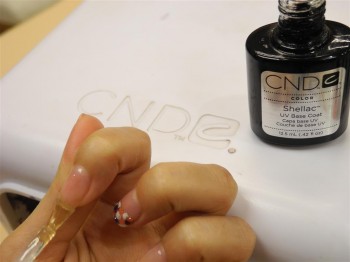 |
Step 2 : Shellac Base Gel
- Apply an EVEN; THIN layer of UV Gel base, covering nail fringes
- Put under UV for 10 seconds
 |
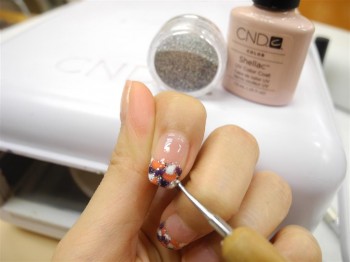 |
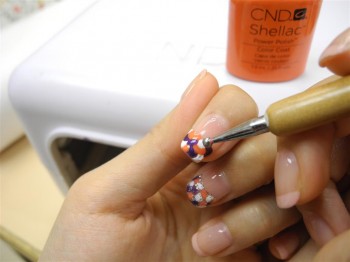
Step 3 : Shellac color gel + accessories
- Randomly draw “Cream Buff” color dots on edge of nail tips (make sure dots are NOT too small) Put under UV for 10 seconds
- Randomly draw “Tropix” color dots on Put under UV for 10 seconds
- Randomly draw “Purple Purple” color dots on
- Put all 3 gel colored dots under UV for 2 minutes
- Conceal/Fade out the gap between each colored dots by drawing lines with “Clearly Pink” + Glitter
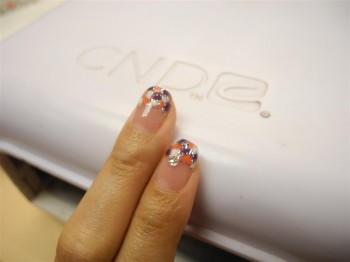
- Put on the crystal
- Put under UV for 2 minutes
 |
Step 4 : Shellac Top Gel
- Gently apply a thicker layer of UV Top Coat (to make sure 3D decorations are well covered and protected)
- Put under UV for 2-3 minutes
- Use Disinfectant to clean the nail surface
- Apply cuticle oil and hand cream
Enjoy!
Read more:
Make Your Appointment Today!
Call Us: (852)2840-0660
Write to Us: rainbownails @ rainbownails.com.hk!

Leave a Reply